Prototyping with Axure • Part 1 - Optimal images
I use Axure in my work as UX-designer and thought I’d share some of the tricks I’ve come up with in the past 5 years. This post was originally named “OMG Axure, WTF?”, because these are some nice hacky workarounds 🤓
I’ll add more over time, but for now I have two image-related tips.
1: Never optimize images #
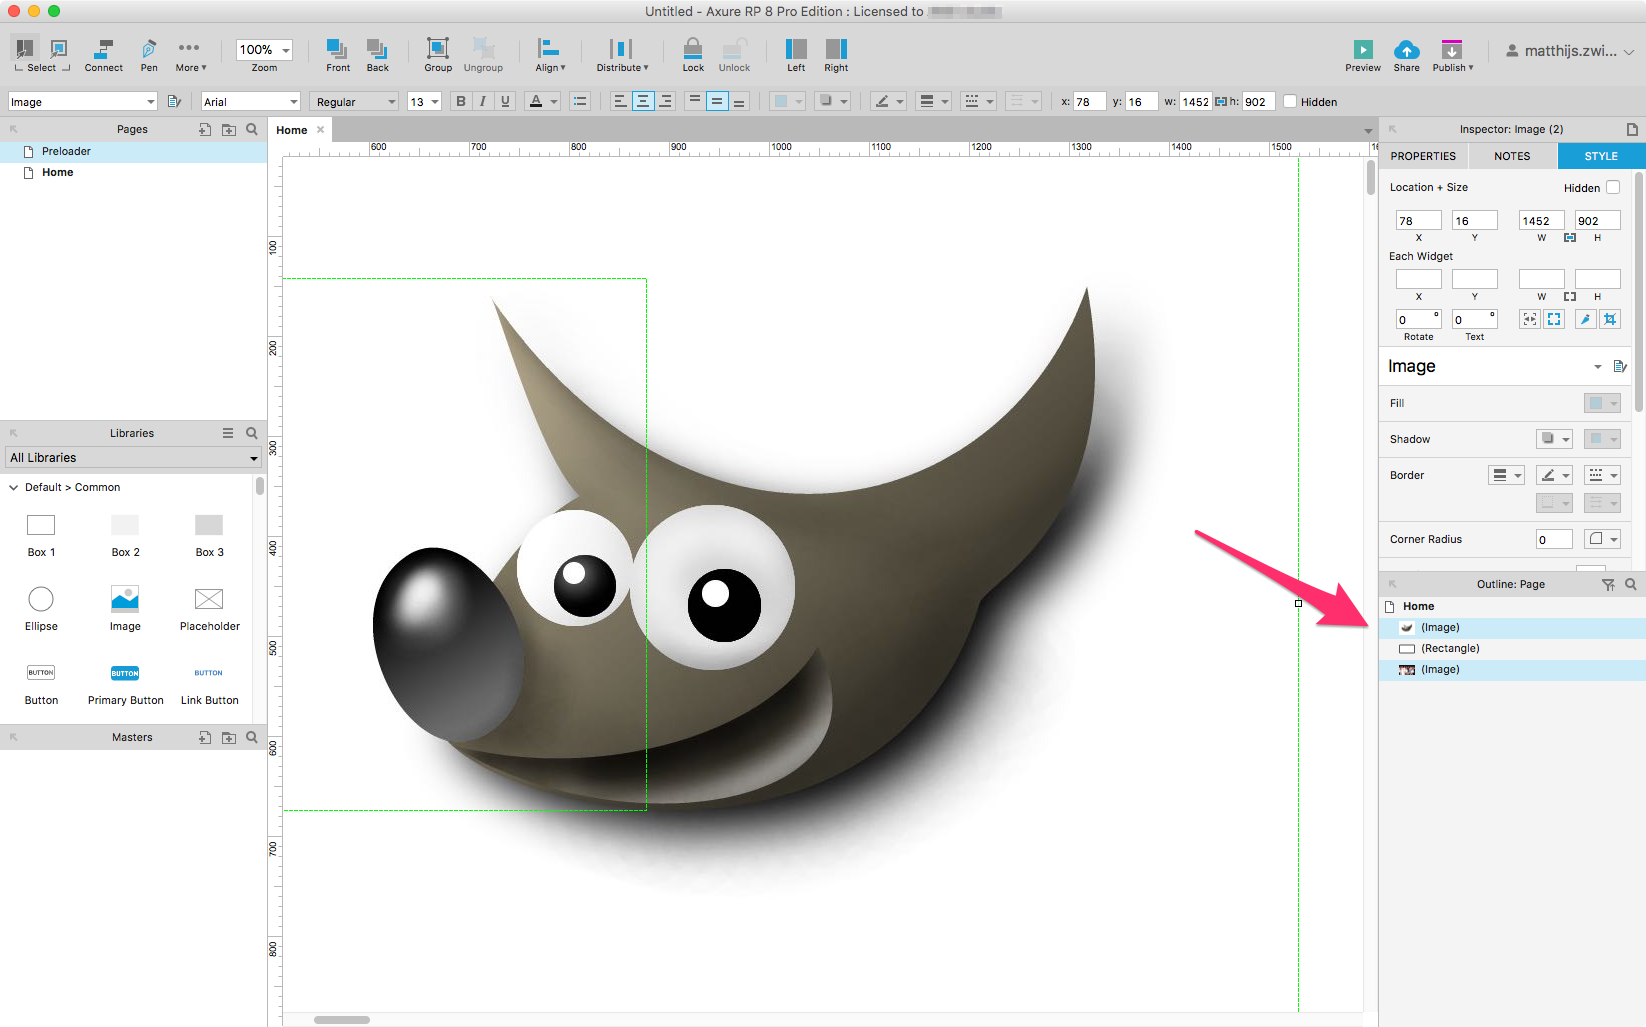
By default Axure asks if you want to ‘optimize images’ on import:

I always answer ’no’ on this: Axure has a very aggressive image optimization. You will notice JPG-artifacts (especially in corners) and enlarging the image will make it look extremely bad. On top of that, lose the alpha-channel in PNG (so no more ‘see-through’).
Optimizing images is not necessary. This is not the ’90s anymore! I have very image-heavy files with dozens of pages in them (because for some projects our agency still uses static-comps) and my six-and-a-half year old MacBook Pro handles them just fine.
Of course, if the image does slow you down, you can very easily optimize it later by right-clicking ‘optimize image’ or slicing a tiny piece off of it (CMD-6). But be careful: there is no ‘unoptimize image’!
If you do remote-testing and you worry about page-load: read on!
2: Preload images for remote testing #
Axure does not export an image multiple times if the same image is on multiple pages. Instead it links to the same image-file. ‘So what’, you might think, ‘big deal!’
But this is actually very useful information for us! For remote testing we sometimes have users with very little bandwidth and in that case it might be detrimental to the test if the pages load very slow. Especially because I ’never optimizing images’ 😇
Here’s the tip: after you’re done with your masterpiece of a prototype, create another page in Axure and call it ‘preloader’. Go through all your pages and copy all images to the ‘preloader’ page. Easiest is to CMD-click on the images in the bottom-right pane to select all of them, then CMD-C to copy.
Now you should have all images from your prototype on the ‘preloader’-page. Simply add a huge white-box over them and add a bit of an explanation for the people participating in the test. Also include a button so people can start the test. If you want to be really fancy, you can disable the button first and have it be enabled after ~10 seconds (because people never read the label ‘wait for instructions’).
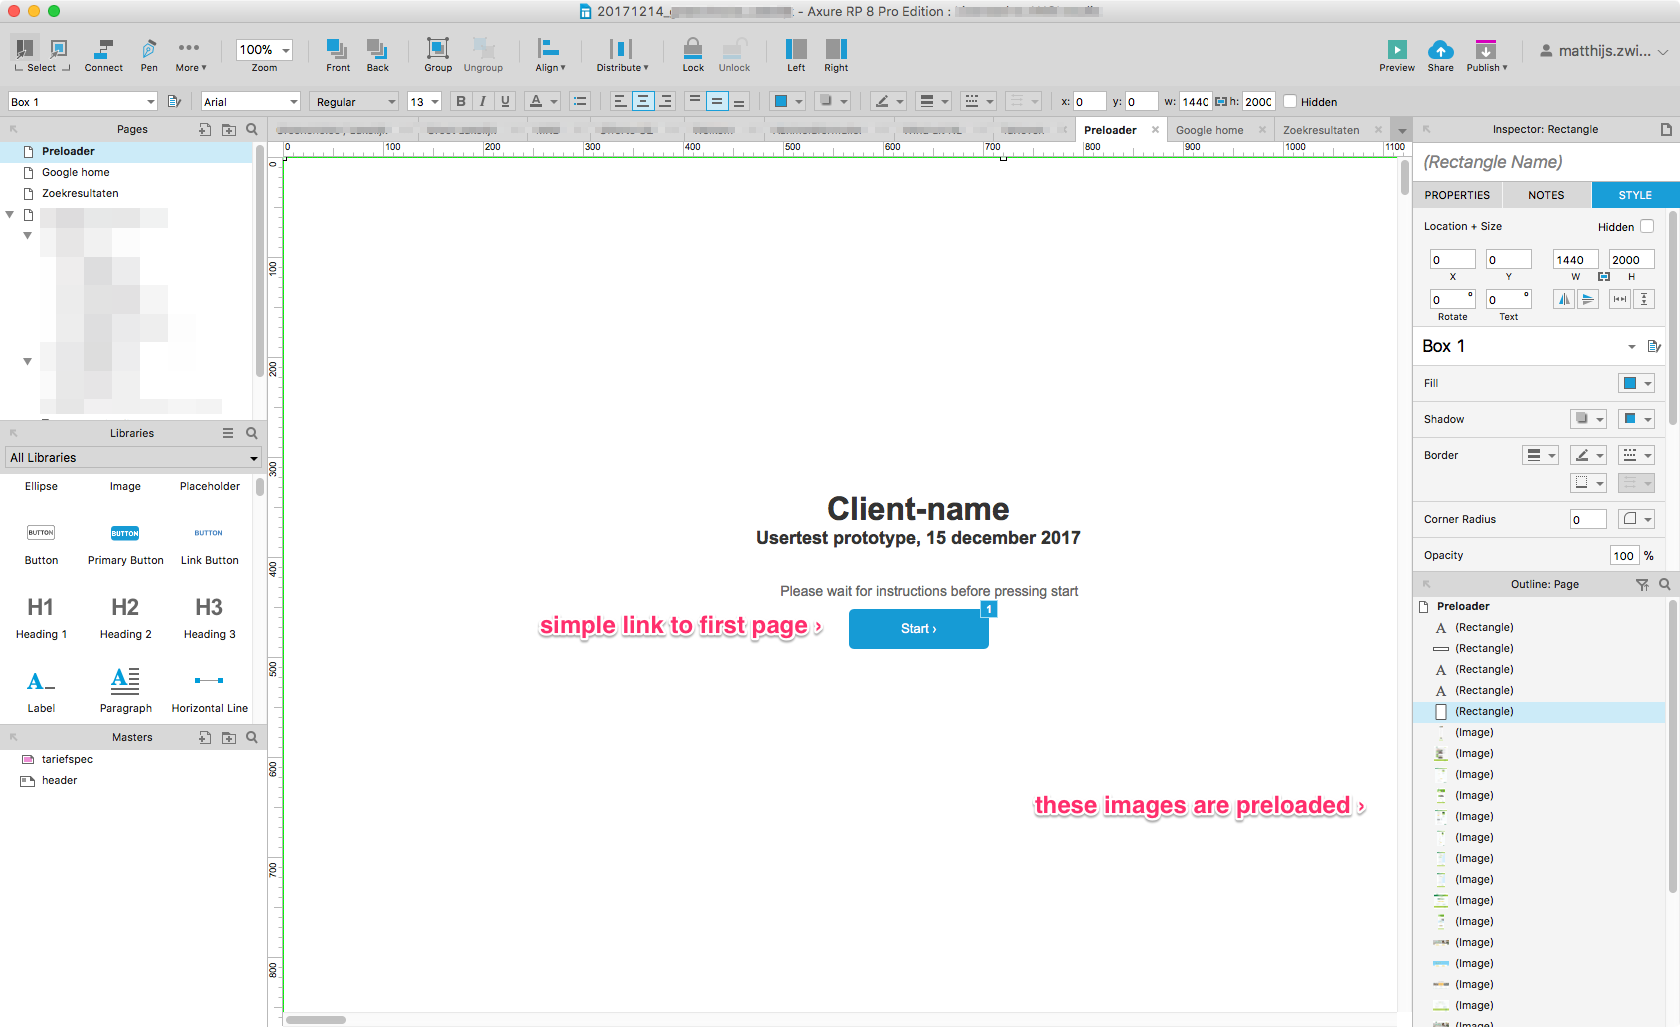
Why cover the images with a big white box, and not set the images to ‘hidden’ in Axure? Because some smart browsers might realise the images are set to visibility:hidden and not load the images to preserve bandwidth.
Now all your pages will load quickly!
_This is part 1 in a series, [you can continue to part 2 here]({% link posts/2018-03-24-axure-tip2.md %}).