Making thumbs of entire photo library
Probably nobody else has this problem: my photo library is so large, it doesn’t fit on my laptop anymore so I put it on my server. But since I store my photos on a server I have less access to them. SSHFS is great, but still a bit of a hassle. So what I wanted was a compressed, but exact replica of my photo library on my laptop. I created a python script to recreate the folder structure and do the copying (keeping the original metadata: when was the photo taken etc.) and used ImageMagick to create a scaled down version of each file.
I have some 65.000 photos which totals at 234 GB (including video). On my laptop I wanted this to be around 10 GB.
Which format, BPG, JPG, or WebP? #
There are different formats to use for photos. JPG is old and the tradeoff between quality and size is not as good as what current technology can do. This is why there are more formats asking for the throne of JPG. Two major examples are WebP and BPG. WebP is developed by Google and therefor in a lot of products: Chrome and Android are two major examples. BPG is an even newer format, based on the HEVC video compression standard. Especially BPG looks like an awesome improvement over JPG, but it does not have a high support as of yet. Also, there are patent-issues with it, meaning that more support would take a long time. Lastly, browsers cannot display the file natively but need to use a javascript function for display. As I want to use the files for thumbnails, this means a lot of javascript-calls.
For me the fight was thus between JPG or WebP. Is the trade-off in size vs quality really worth the effort?
WebP vs JPG #
First things first: WebP does not work natively on the Mac, it won’t display in Preview or Quicklook (and plugins I found aren’t working). A major downside!
I have some 65.000 photos, so a difference in size might make me overlook this shortcoming. With JPG at 85% quality this would mean approximately 13.4 GB. An equivalent WebP setting would be ‘only’ 8 GB.
ImageMagick with WebP #
To install ImageMagick I used brew. To install with support for WebP (and
tiff, because for some reason some of my photos are in that format), do:
brew install imagemagick --with-webp --with-libtiff
Comparing the results #
I’ve tried a lot of different settings for both WebP and JPG. I did a strip
for all conversions to make all files smaller.
Here are some examples, going from low to high quality (click here for the original):
Obviously you will need a WebP enabled browser to see the photos
Q15 JPG (64KB)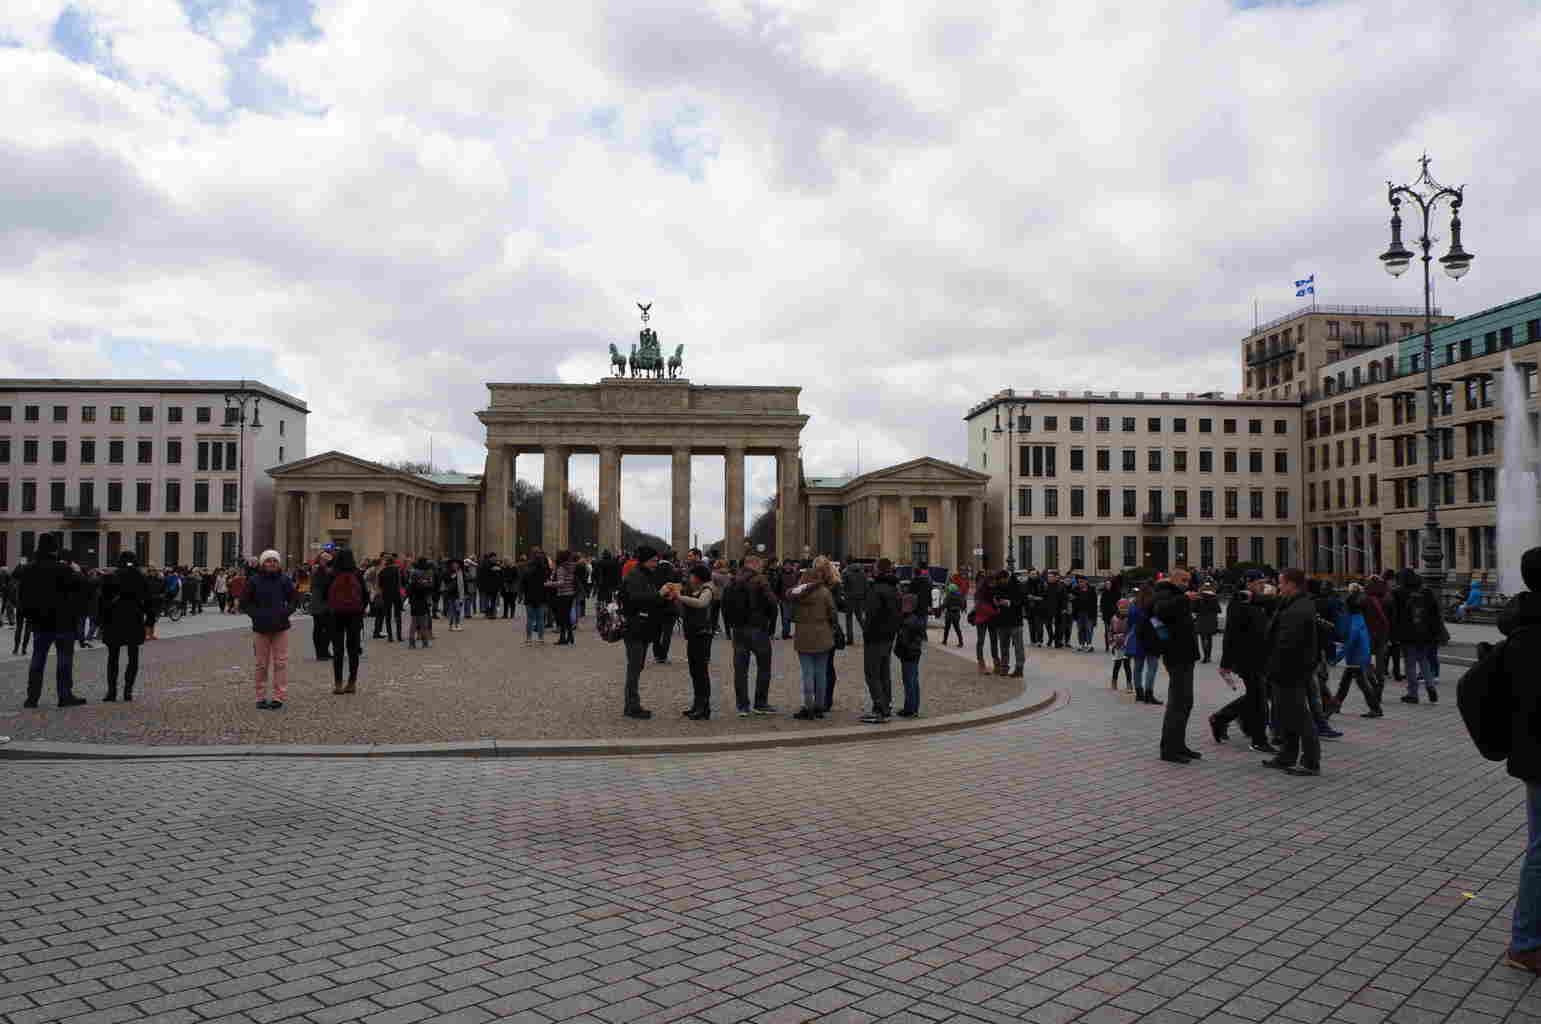

Q85 JPG (318 KB)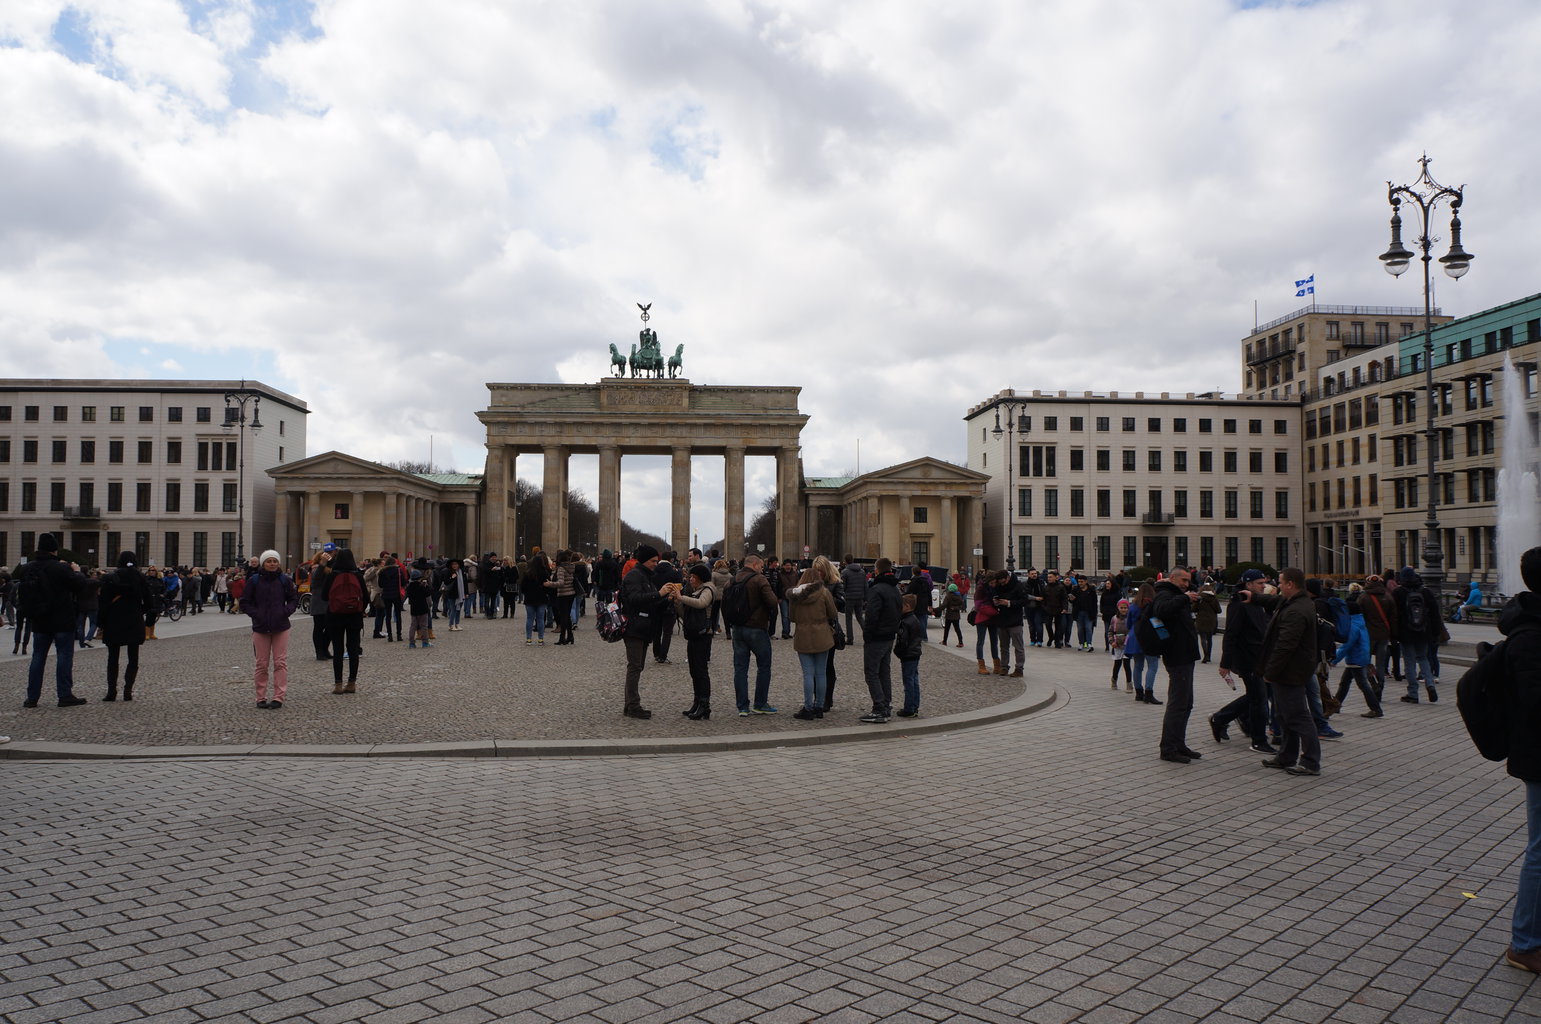
The first thing you notice is that WebP is a lot smaller than JPG (70%!). You may also notice the artifacts from both algorithms. For JPG it’s most noticeable in the flag in the top right. For WebP you can notice it in the stones of the building. The texture of the building looks a lot ‘smoother’ than in the original. I found this second artifact a lot worse, it’s very noticeable without zooming in. Maybe my eyes have accustomed to JPG-artifacts, but I think the JPG files are ‘prettier’.
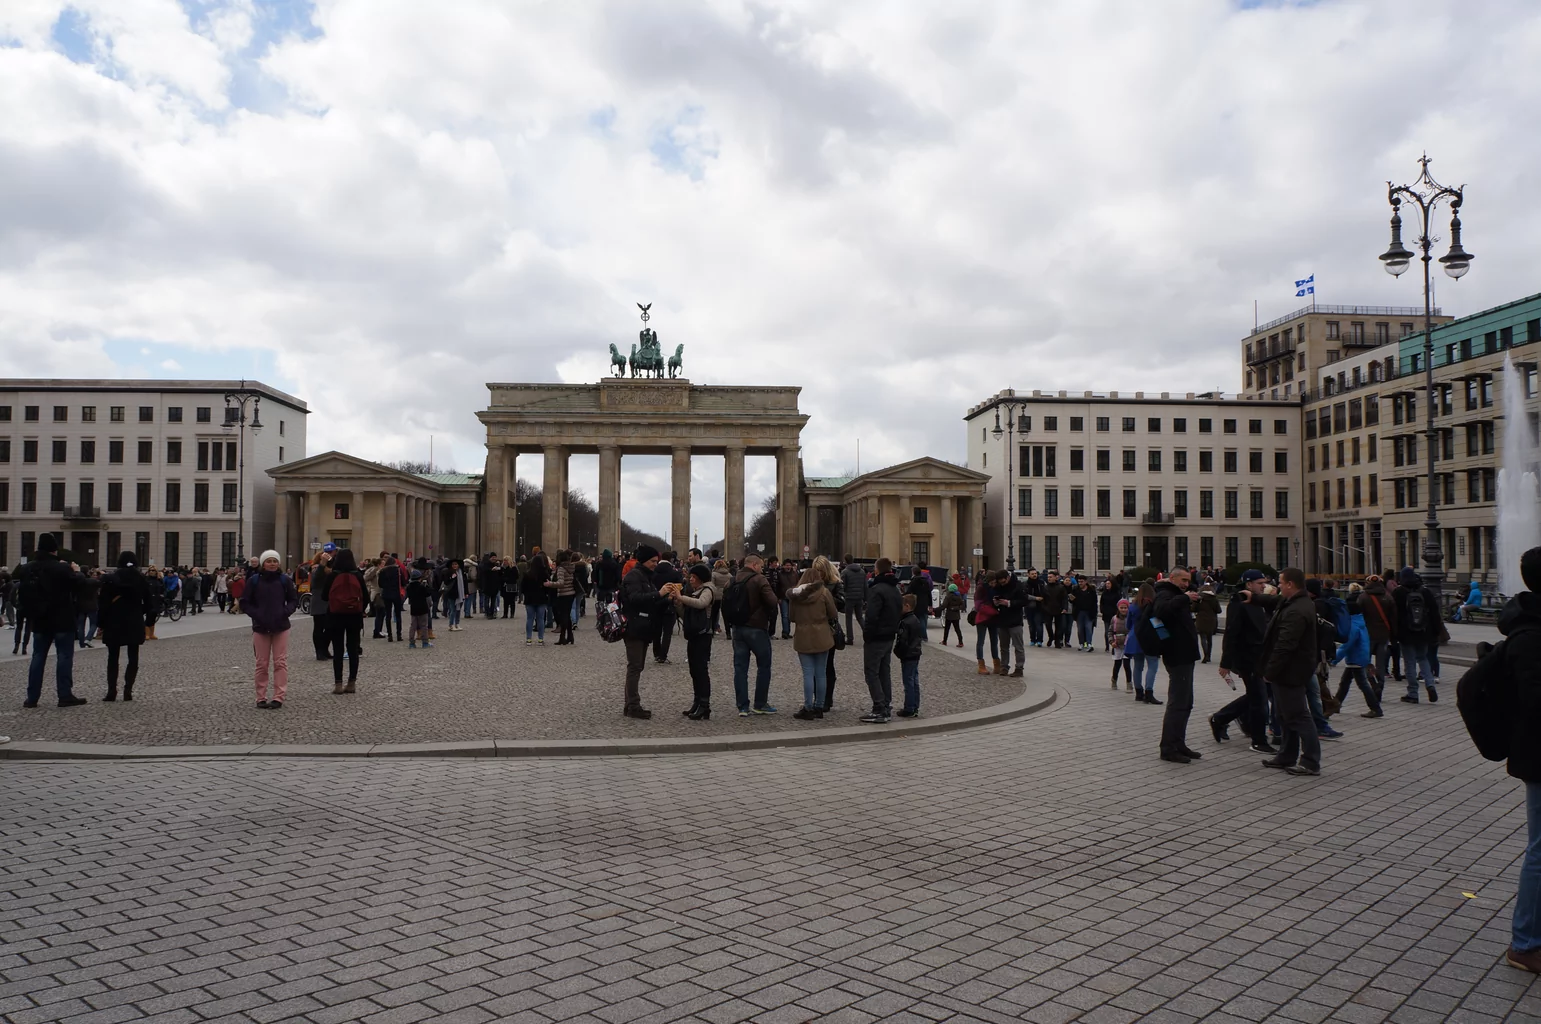
I could not believe this and tried a lot more different options. I’ve found that setting the FS-option lower made pictures a bit sharper, so:
Q85 WebP EmulateJPG (289 KB)


Everywhere the same smooth texture on the building!
Ofcourse I did not use only one image for comparing WebP and JPG. I’ve tried it with faces as well (same smoothness). Here’s two more images so you can see for yourself:
original | JPG Q85 | WebP Q85 FS20
original | JPG Q85 | WebP Q85 FS20
Compression used #
In the end I went with JPG because to me it looks better, it has native support on Mac and the difference in size was not too drastic. After a bit more experimenting I settled on a quality of 75% because it provided the best quality vs size tradeoff. I made images 1024 high, so they would still look good on my laptop in fullsize.
I also applied a sharpening “trick”, which makes the photos look a lot nicer:
-unsharp 2x0.5+0.7+0
https://even.li/imagemagick-sharp-web-sized-photographs/
Update I’ve found that Graphicksmagic can make even smaller thumbs. Up to 13% with no noticeable quality difference.
Read more: #
Some great examples of good compression of WebP: https://www.andrewmunsell.com/blog/png-vs-webp https://developers.google.com/speed/webp/docs/webp_study
BPG is even better, but not as well supported: http://www.philipstorry.net/thoughts/bpg-vs-jpeg-vs-webp-vs-jpeg-xr
Another comparison of BPG to WebP and JPG: http://bellard.org/bpg/
And how I found out to install ImageMagick with WebP: http://stackoverflow.com/questions/12943947/imagemagick-can-not-find-deletegates-library-for-tiff-format-on-mac-os-x-mounta